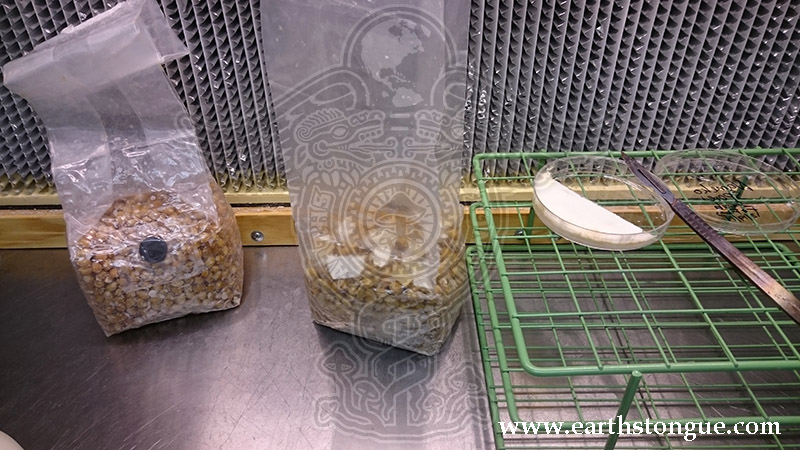
Items we are using for this project:
1 Flow Bench Hood 2ft x 4ft (can be substituted for Sterile Work Glove-Bag),
2 Sterilized Corn Mycobags Bags,
1 Malt Extract Agar Petri Dish colonized with Pholiota nameko mycelium from spores,
1 Test Tube Rack,
1 Bag Impulse Sealer,
1 Scalpel Handle #4,
1 Scalpel Blade #24,
pair of sanitized gloves,
1 Face Mask,
and a Bacti-Cinerator (available at Earth's Tongue competitive pricing by phone or email order)

Make sure to Disinfect all surfaces including your rack and scalpel handle and the outside of the petri dish itself before opening it. Disinfect the outside of both bags before cutting them below the seal. Wear exam gloves and sanitize the gloves with alcohol first. Always wear a face mask as well.

Unwrap the petri dish and mount your blade to the scalpel handle and sterilize in the Bacti-Cinerator for 12 seconds.

Let the scalpel cool on the side of the rack and uncover the dish you will be using for the transfer.

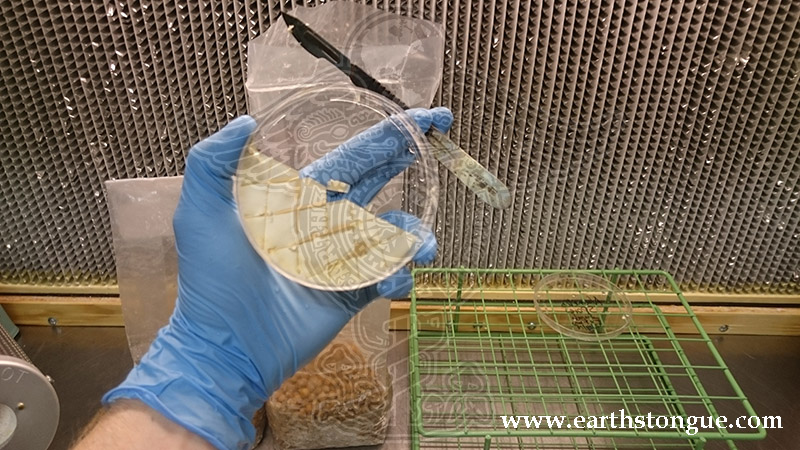
Cut the dish in half first and then cut the first half into small squares by cutting straight lines and then cross them with straight cuts (dont cut each square individually). At this time your bags are already cut and are ready to take the transfer.

Use the scalpel to help you push the colonized agar cubes into the grain (in this case corn).
You are done with the first bag for now. Continue with the next bag.
Unfold the top of the grain bag so it holds itself open. Cut the other half of the colonized agar the same way as you did the first half, into small squares / cubes.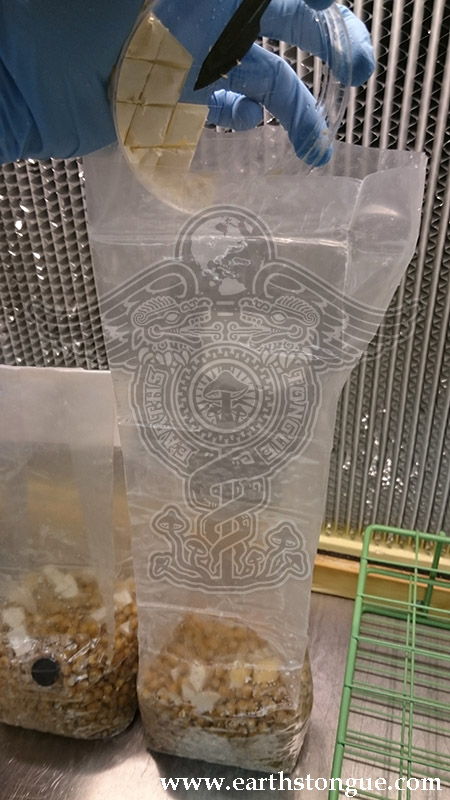
Pour contents of dish into grain bag.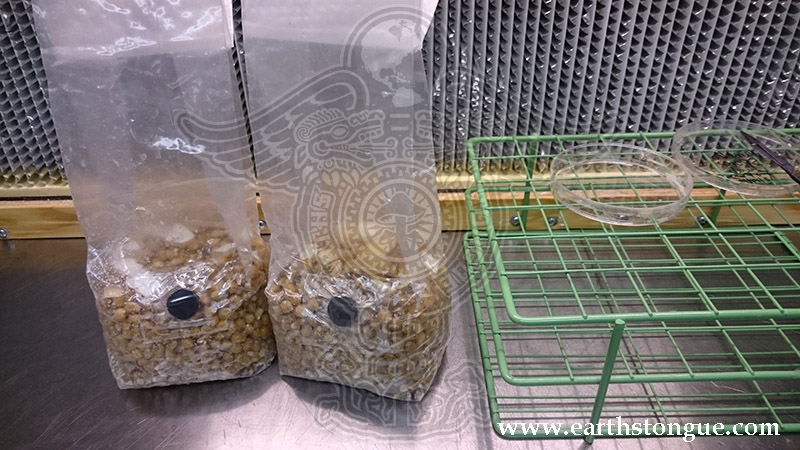
Now that the mycelium is inside the bag, hold the bag shut and shake the contents inside the bag to disperse the agar squares into the grain for an even and fast colonization of your grain. 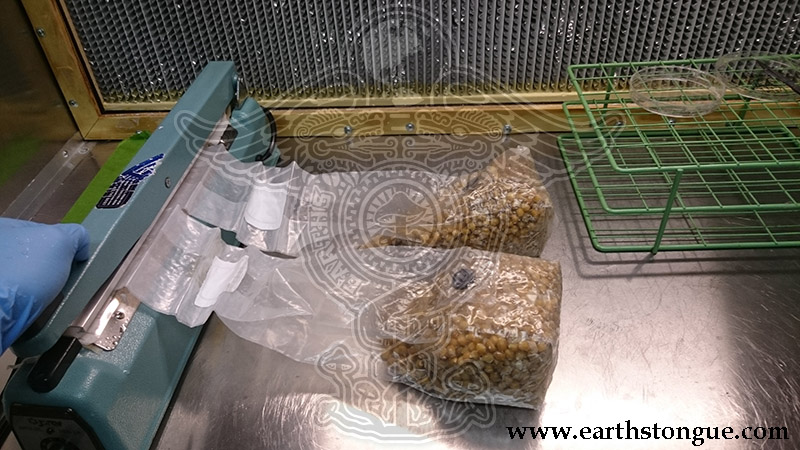
Now that everything is mixed well the bags need to be sealed to remain sterile and keep bacteria and mold out. Make sure to seal all the way through with no gaps in the bags. Sealing on both sides of the bags is best. You can test the bags for leakes by pushing gently on the top of the bag to make sure no air is leaking from anywhere.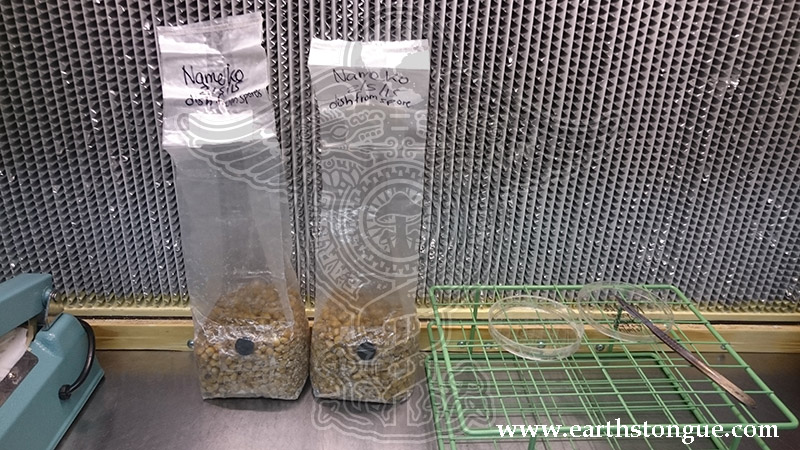
Always label and date you bags with as much information as you have. 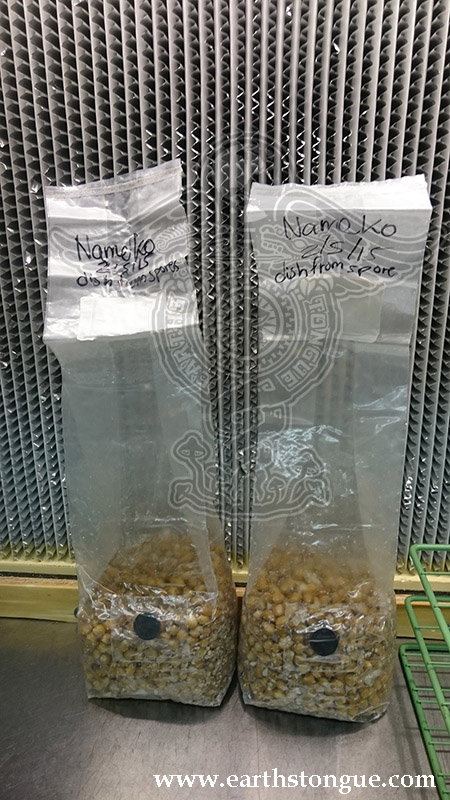
At this point it is now safe to remove your bags from infront of your Flow-Hood or inside your Glove-Bag and take to incubate.
Always incubate below 80 degrees Farenheit to avoid problems.
